DIY large photo art
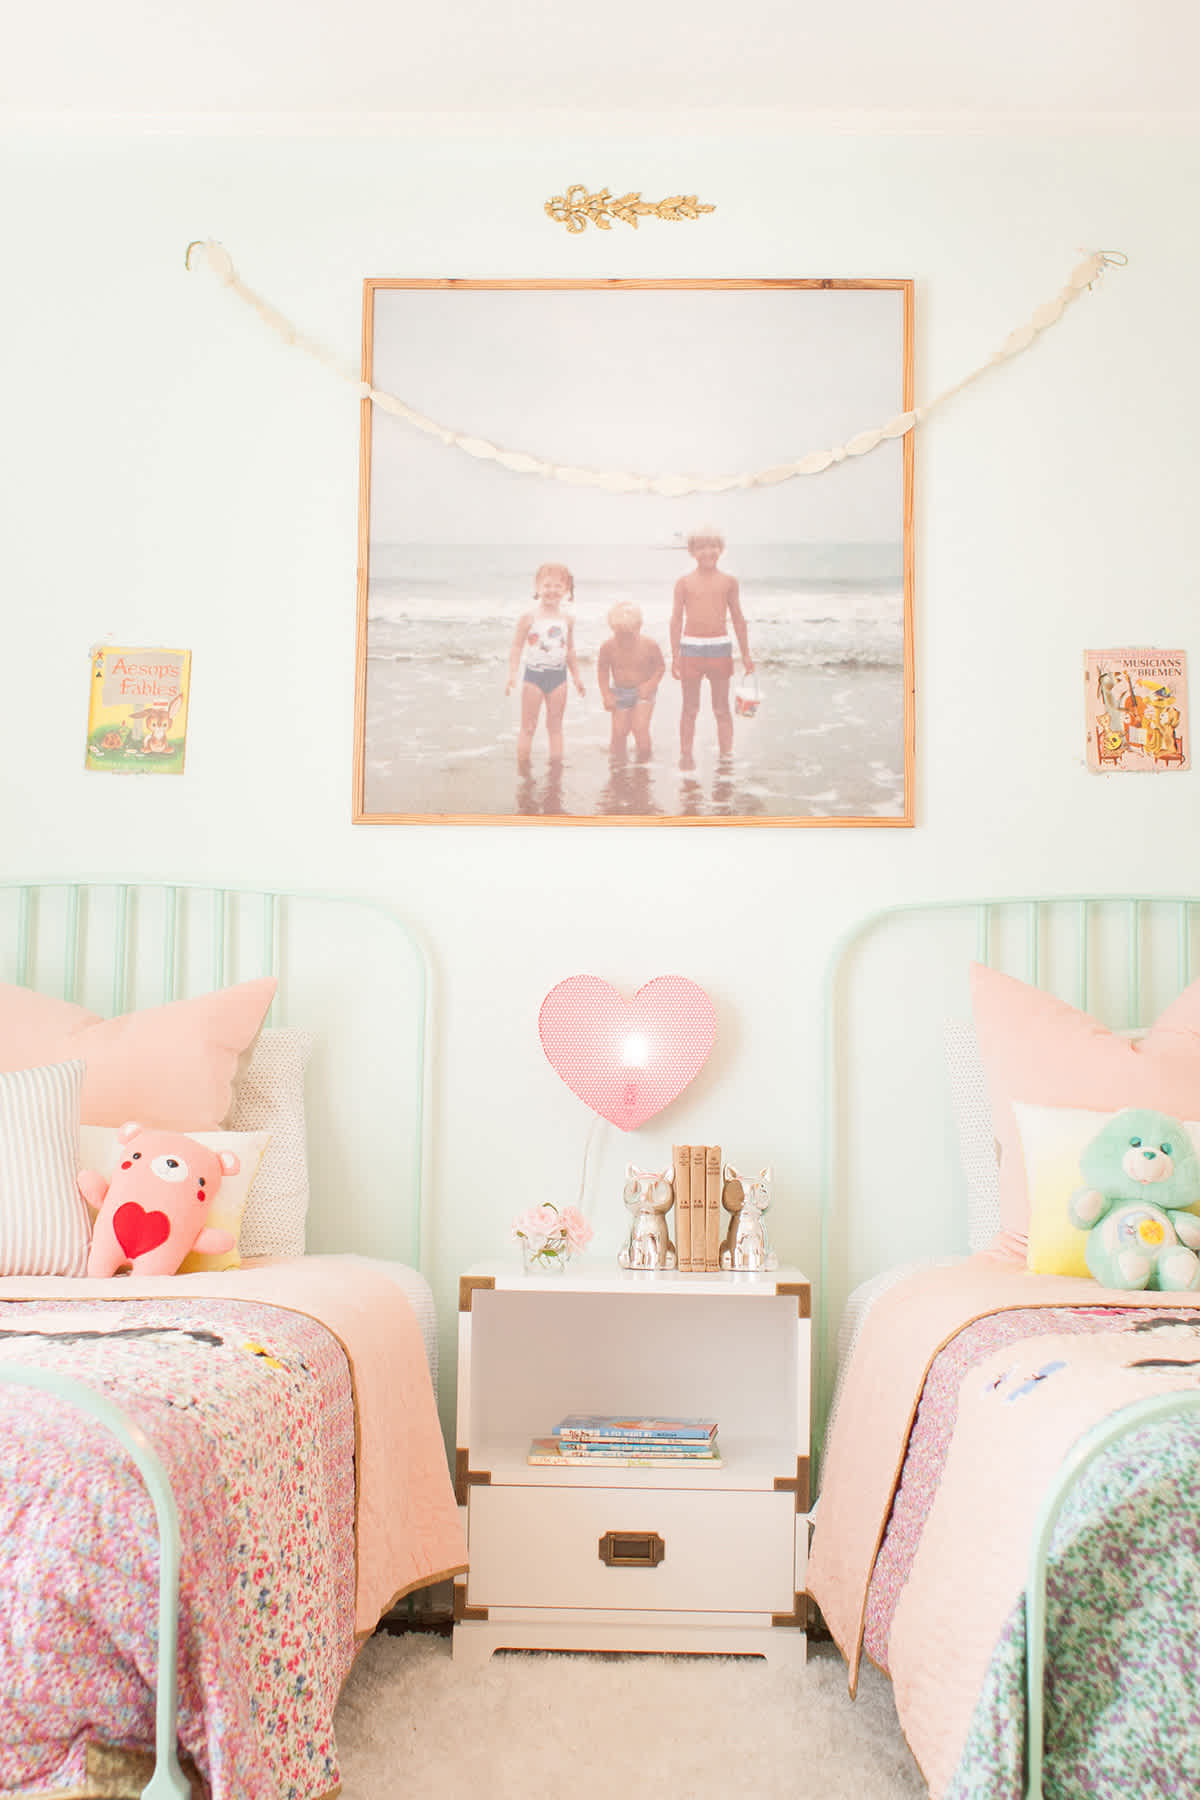
Several of you have asked about the details of creating these large scale photos, so I'm sharing the how-to today! Really, it's a super easy, inexpensive way to create art as long as you can find the right printer. (And if you missed the other post, go here to find more photos of this room and the sources to everything!)
To find a printer, you want to search for a digital printer in your area. Just search "digital printer Atlanta" or whatever your city is, and see what you find. The printer I use is Phase 3 Media in Atlanta, and I know Imagers does this as well. This isn't really helpful if you aren't in Atlanta, but hopefully it will give you an idea of what to look for! Call the printer and ask if they can print on different substrates, such as plywood, and ask if you can bring in your own plywood. If they say yes, then you have found the right place! Also, ask for a quote to make sure it will work for you!
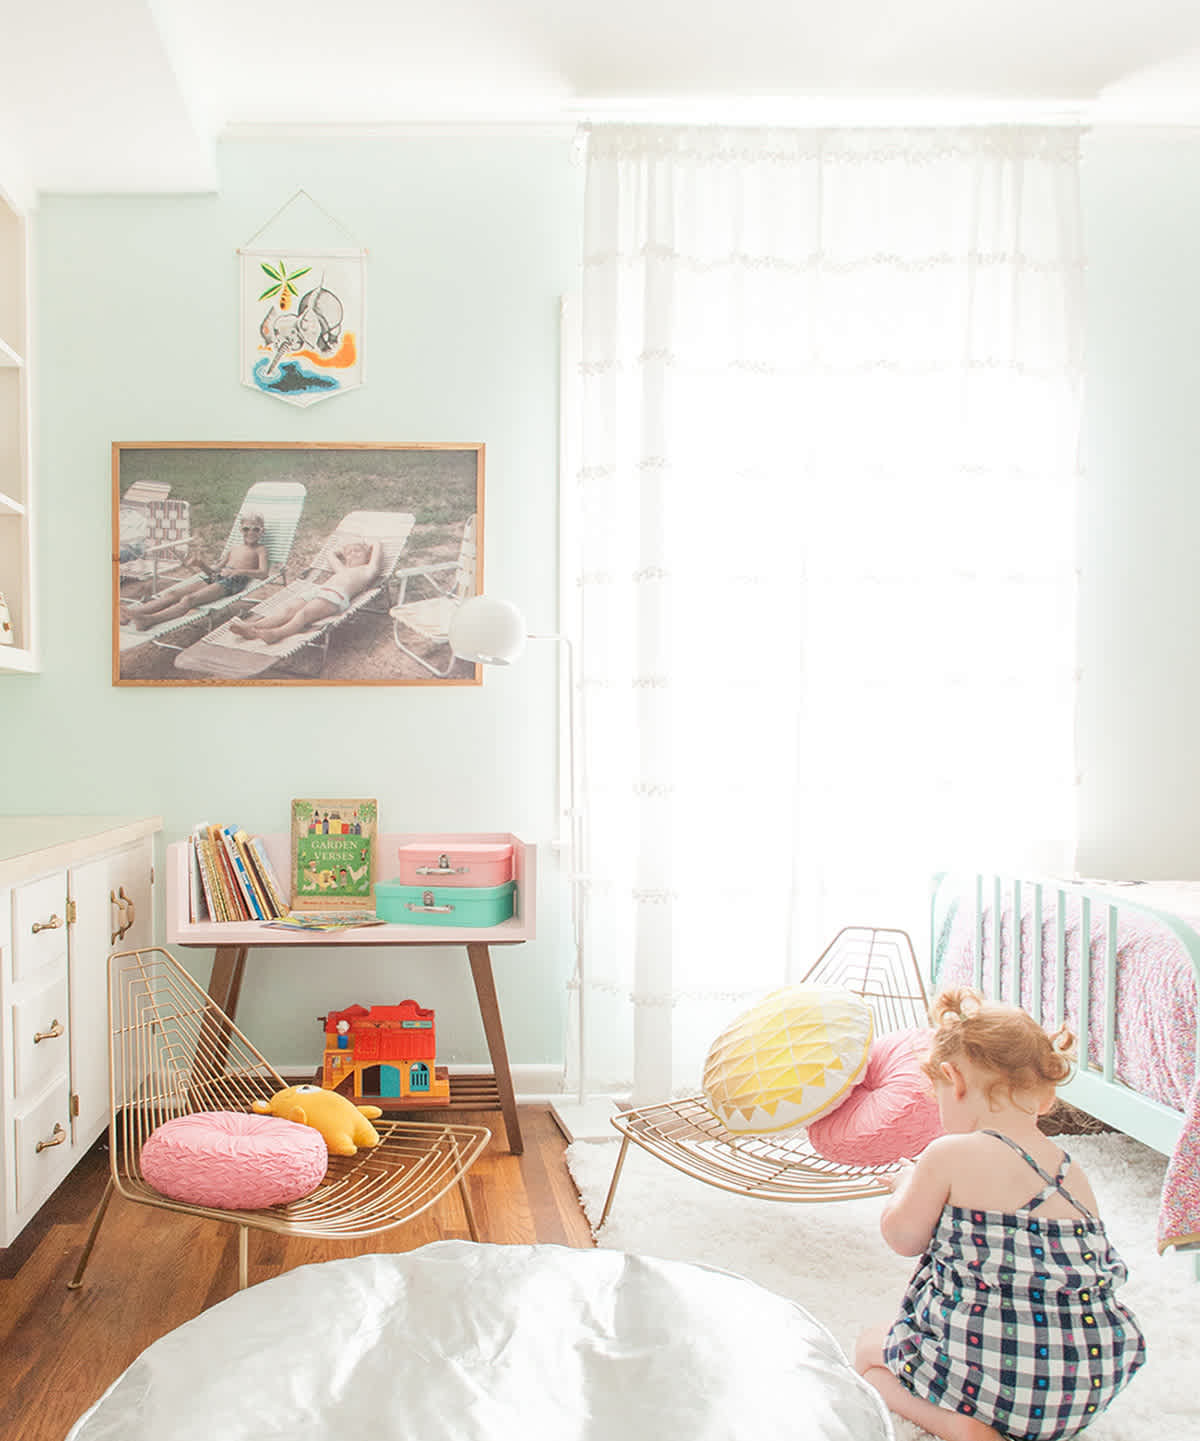
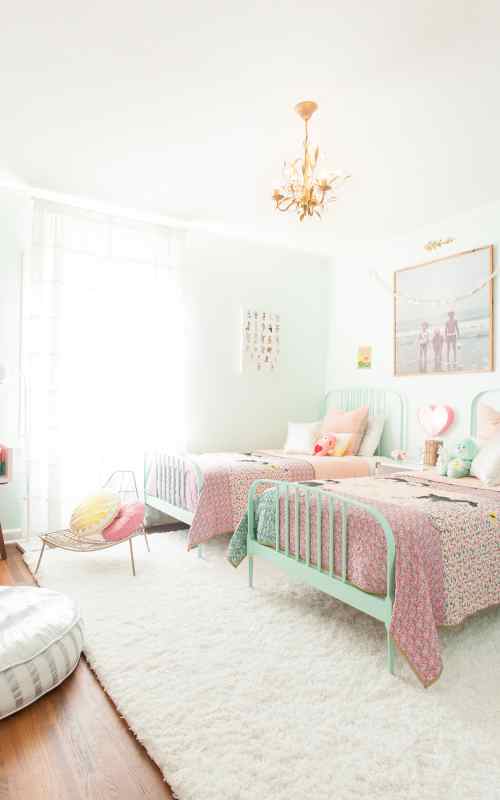
Next, select your photos/images and decide what size you want them printed. As a reference, the beach photo between the beds is 36" x 36", and the one above is 24" x 36". The printing cost for these was about $60 to $80, not including the wood, which would add on about $10 per print.
Go to Home Depot and select your plywood. I recommend 1/2" birch plywood. You don't want anything too rough, with too many knotholes or imperfections, and this seems to be a good depth as the 1/4" can be too flimsy and warped, and the 3/4" is super heavy. They readily have 2' x 2' and 2' x 4' sizes available, so you can have those cut down or use them as is, and if you are having multiple large prints, you may want to get a 4' x 8' sheet (which is around $45) and they will cut it for you in the store, which is so helpful! Sand the edges and front and back lightly to remove any splinters or rough spots, and then drop the wood off at your printer! (Note: This is important! If you want them to source the wood and print it, it will likely be a cost difference of a few hundred dollars. You can ask for a quote to see the difference, but this is why this print option is so great. It's significantly less pricey to supply your own plywood, and also to be able to pick it up, rather than have it shipped.)
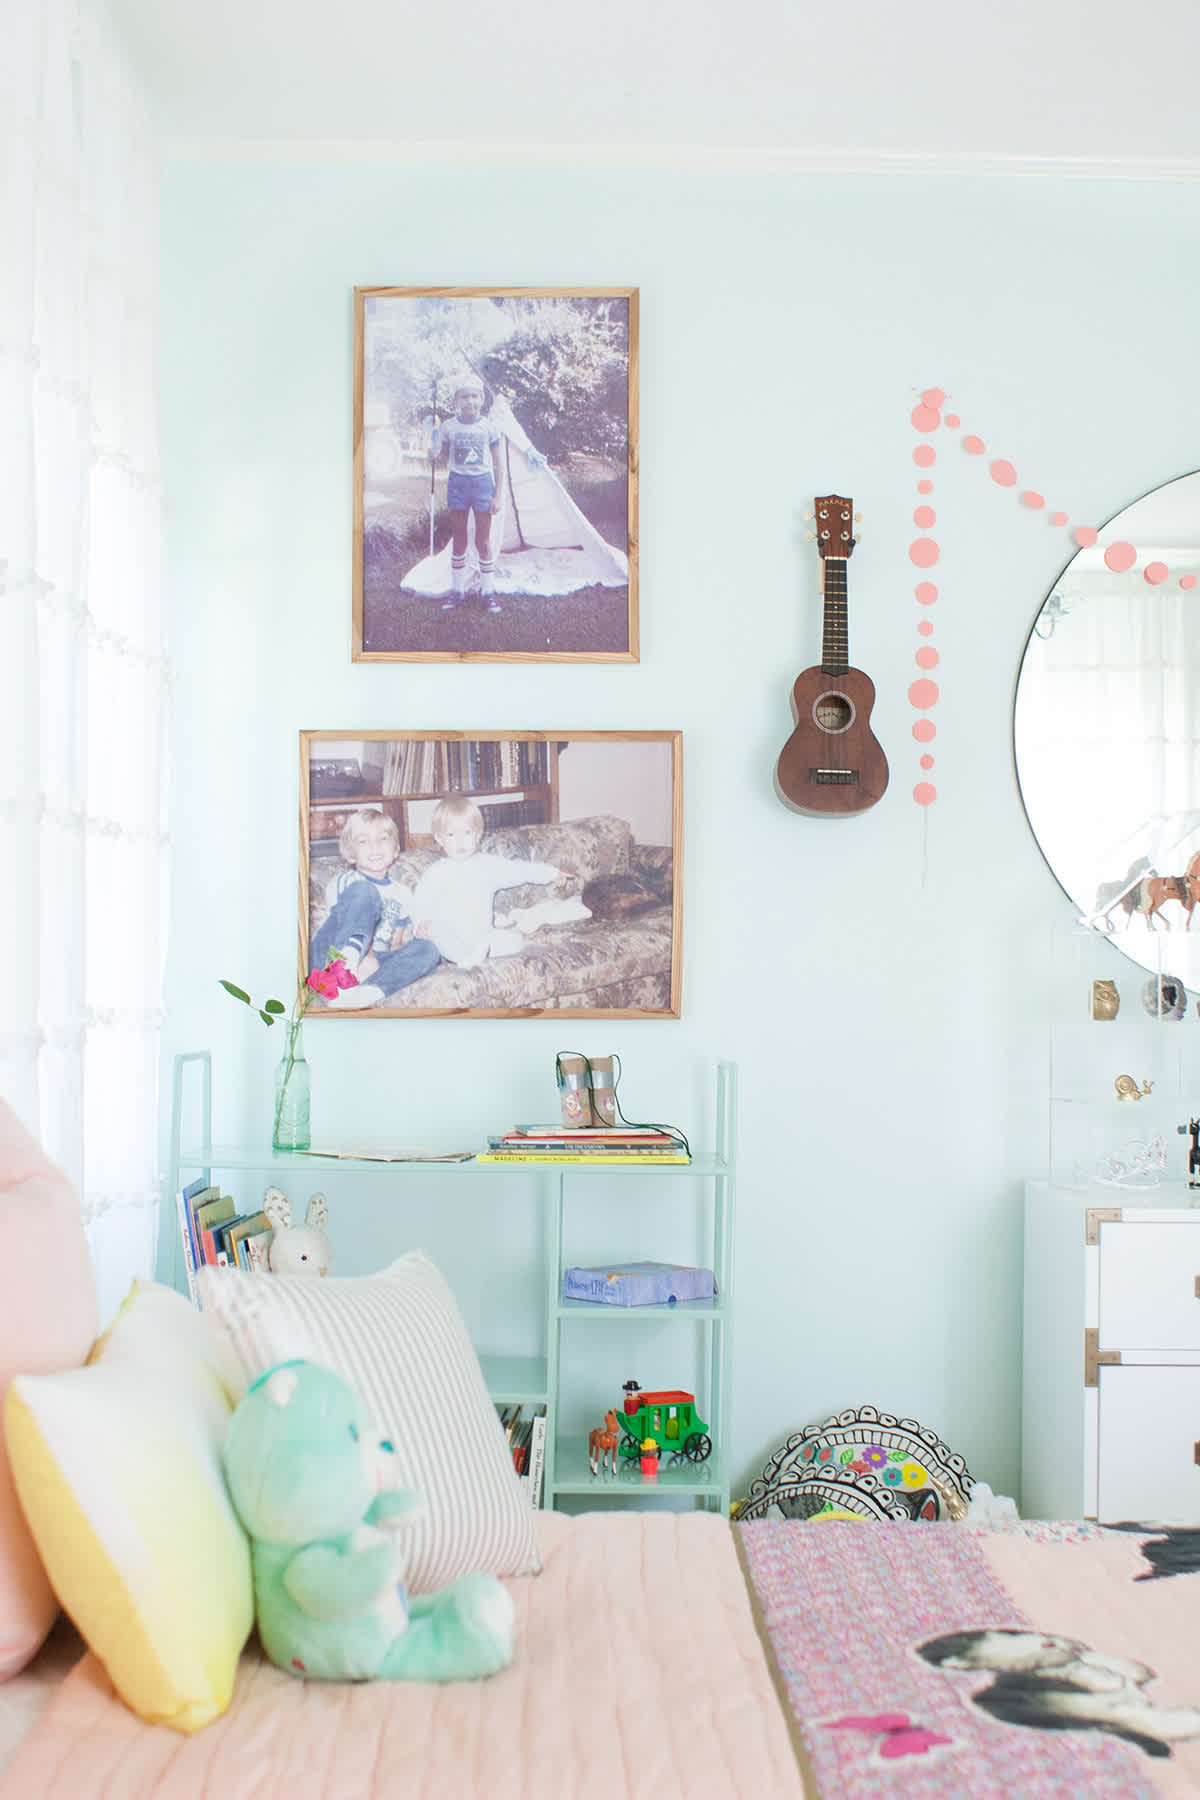
(Prints pictured above are both 18" x 24"). Next, scan in your prints at a high resolution, the highest you can. I edited these photos a little to brighten them up and such, so do that if you need to as well. These photos were old and some of them are a bit blurry, but they still look beautiful printed out at a large scale, like a piece of art! Send the photos to the printer at 300 dpi at the size you would like them printed.
Once they are done, it looks extra nice to add a little frame. My father created these from heart pine, using a table saw and mitre saw, but you could do this more simply with some thin trim that you paint, stain, or leave natural. Just nail it around the edge of the art; I'd recommend pre-drilling your holes. If this sounds like too much work, you can also simply paint the edge to give it a more finished look, and that would also look really nice! A bright color would make a fun pop on the wall.
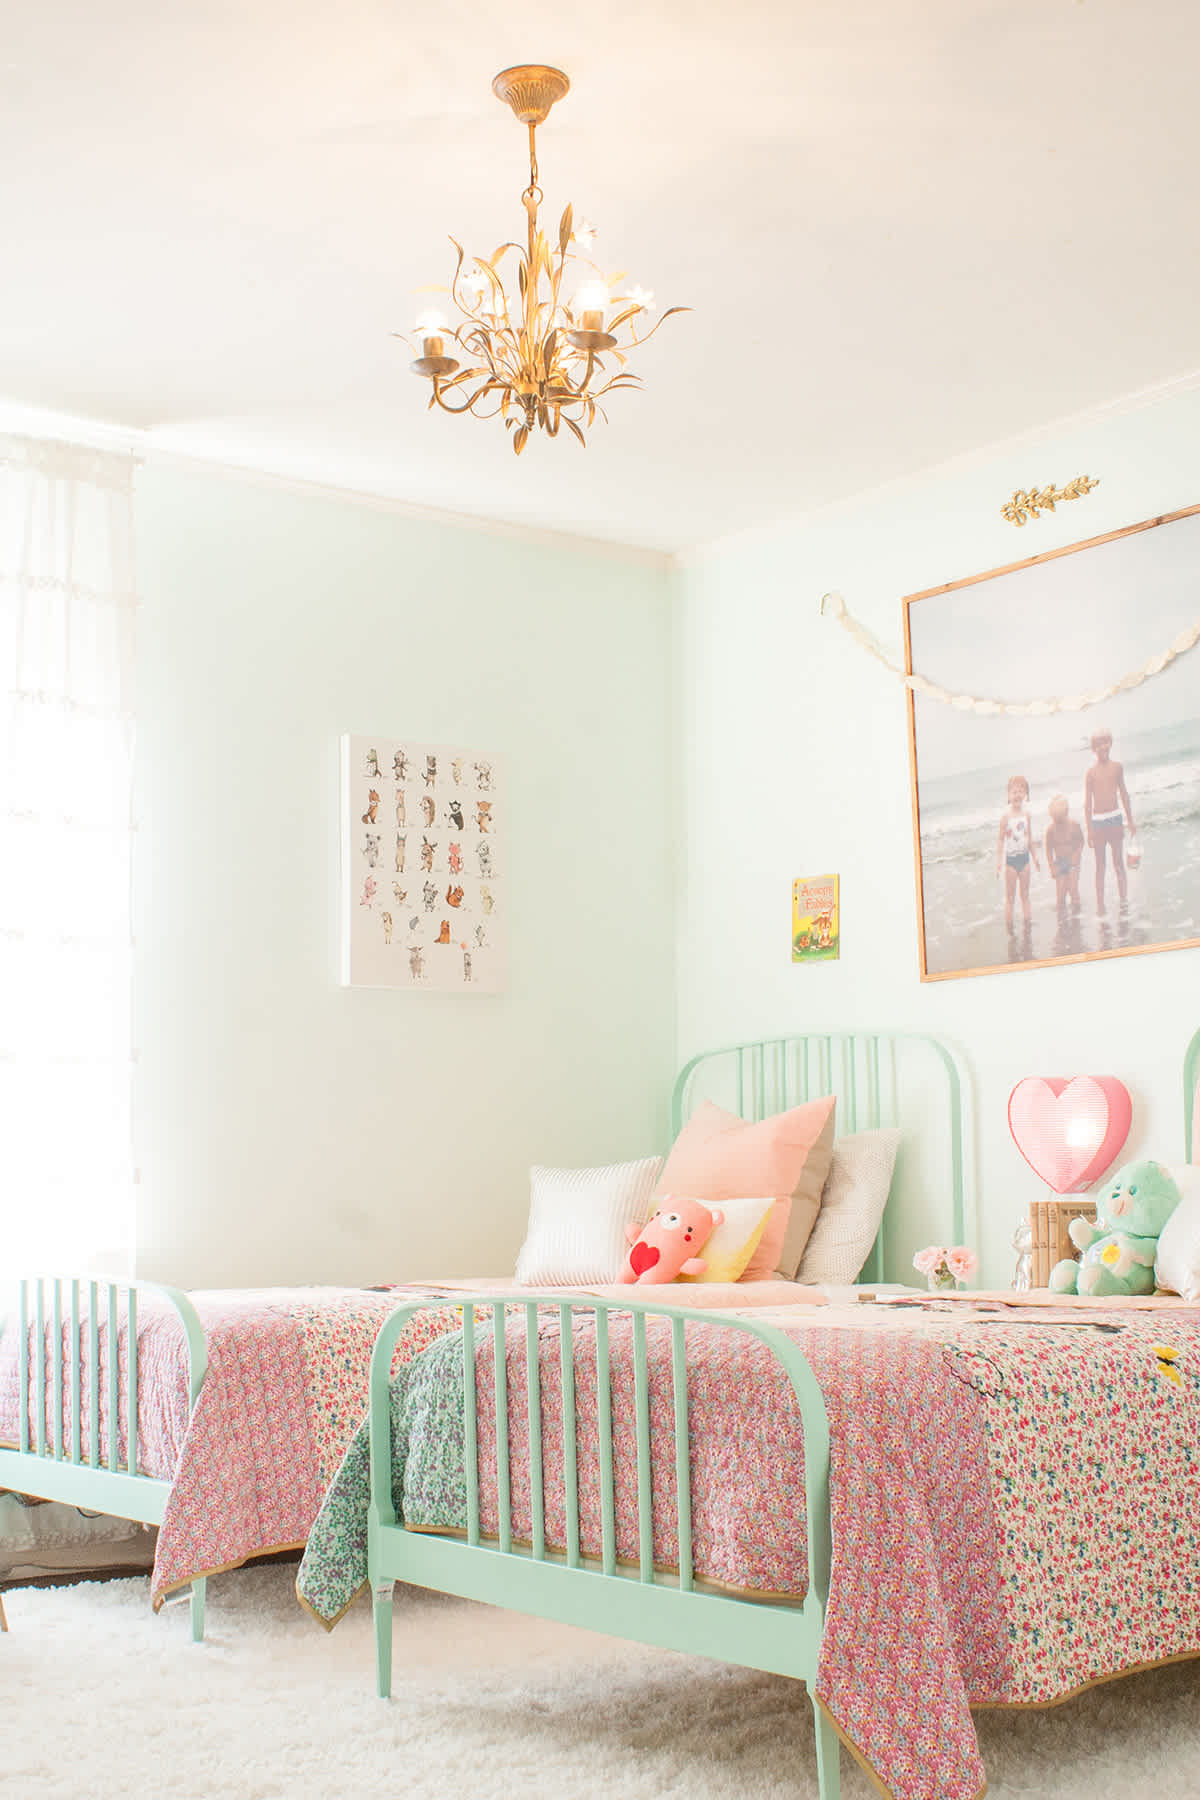
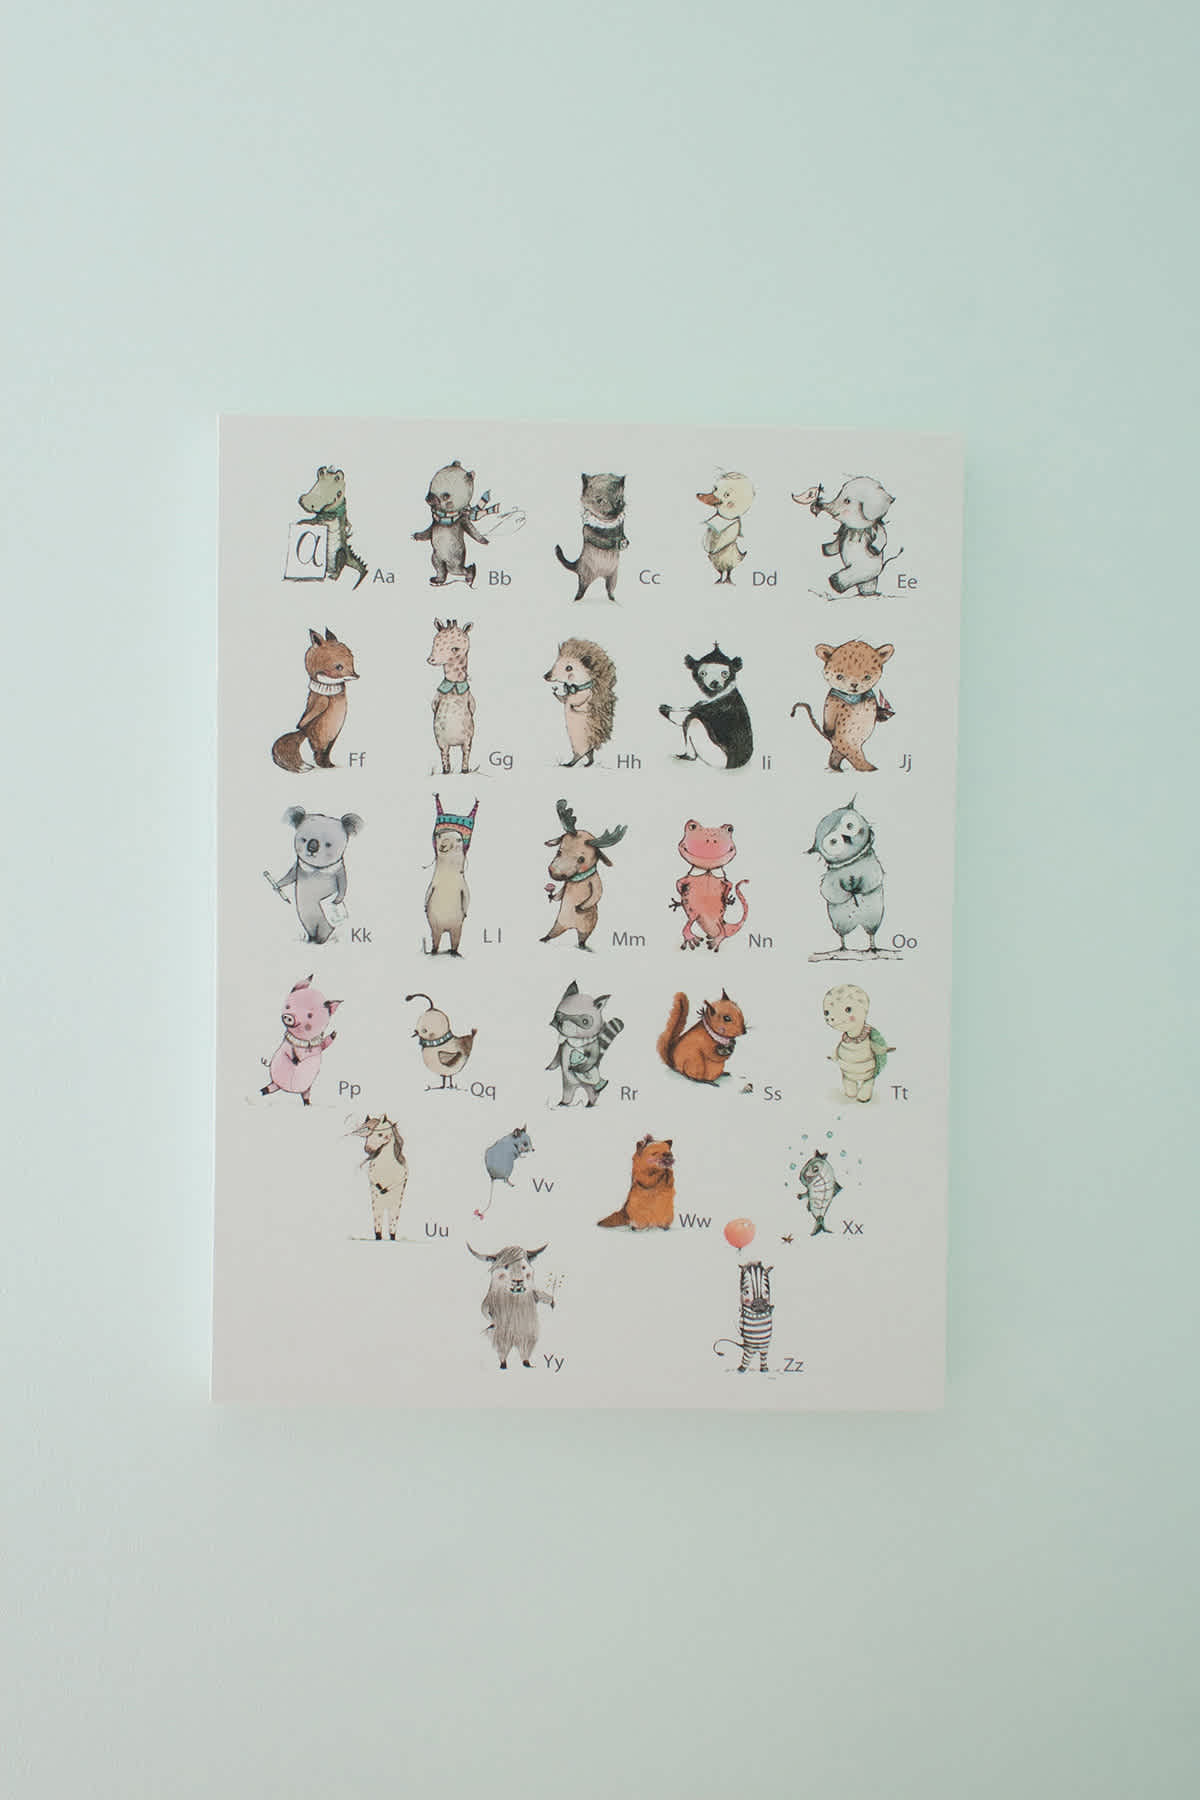
Hope that helps! Please comment if you have questions or need clarification on anything! Also, I have to highlight this sweet canvas on that other wall - I love all these little animal illustrations, and so do the girls!!
Discussion