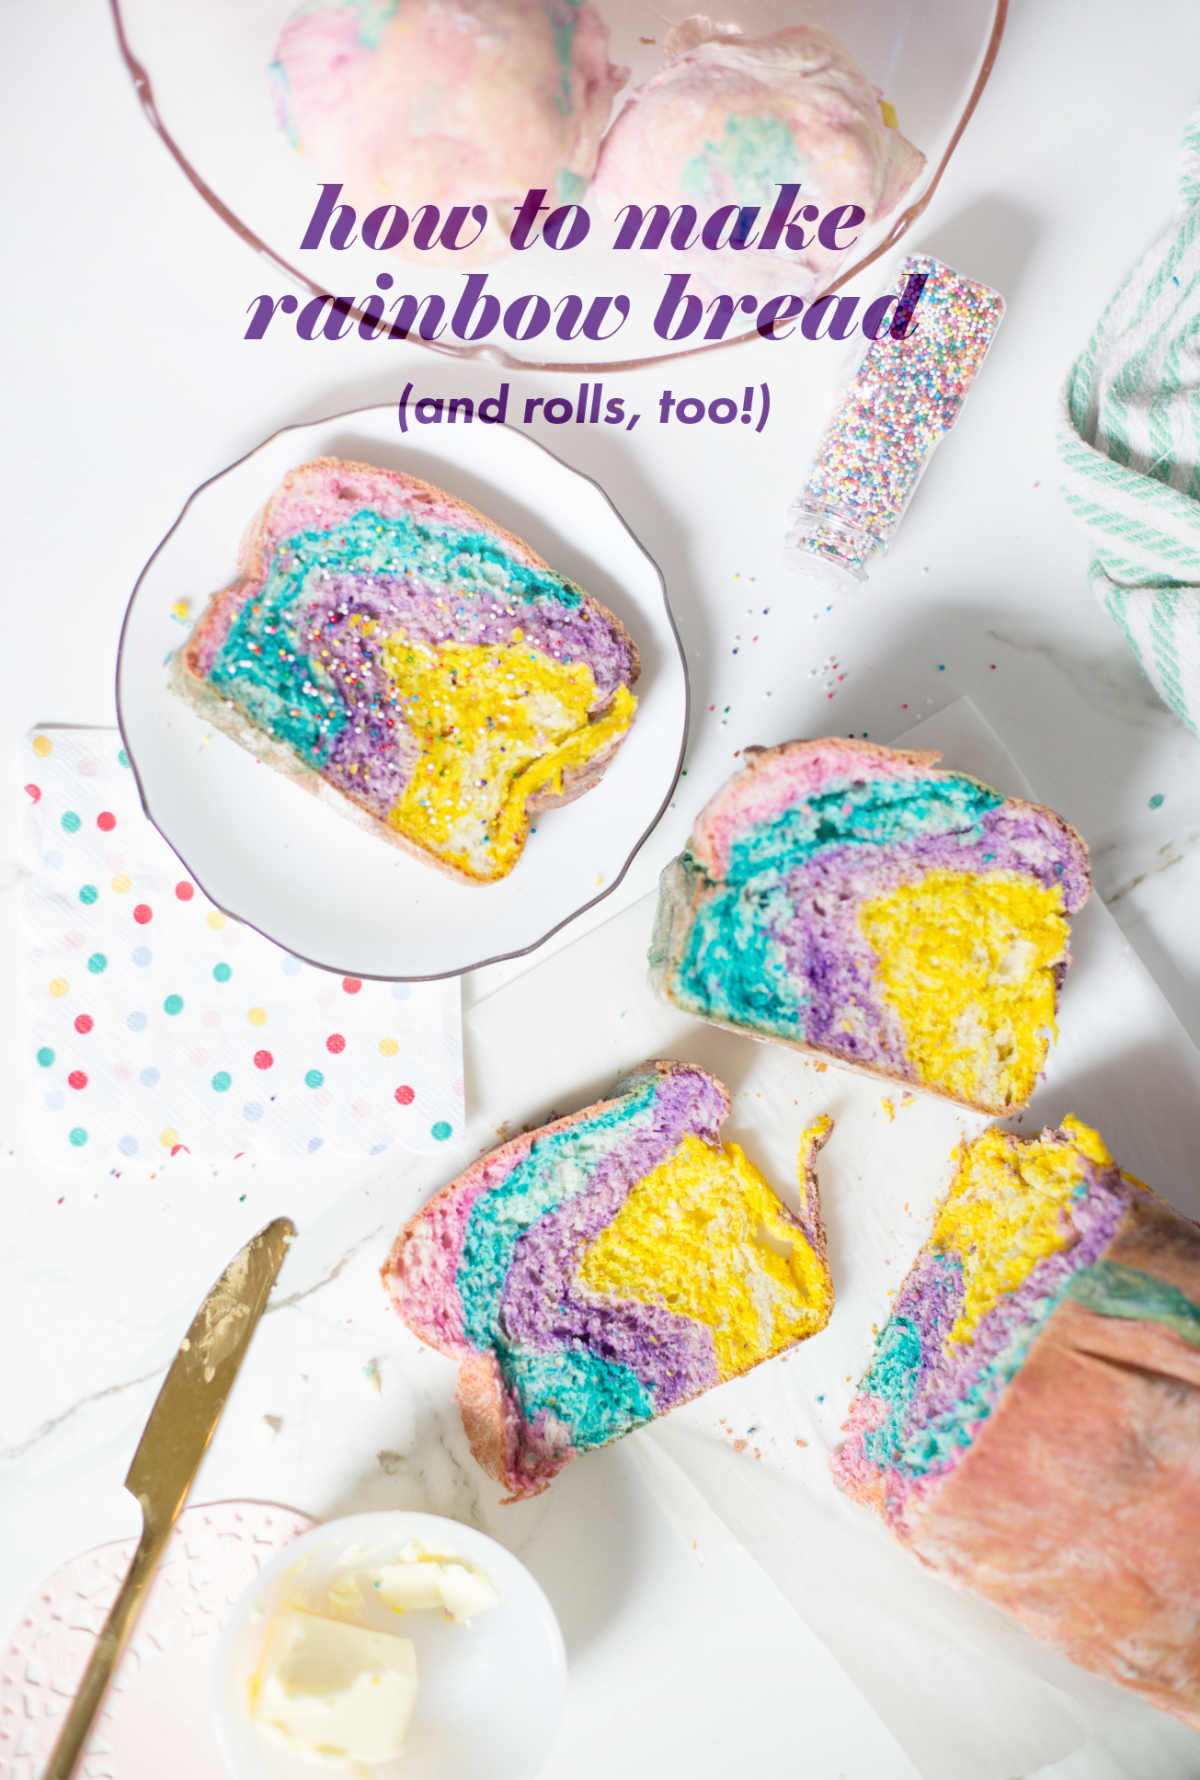
how to make rainbow bread and rainbow rolls
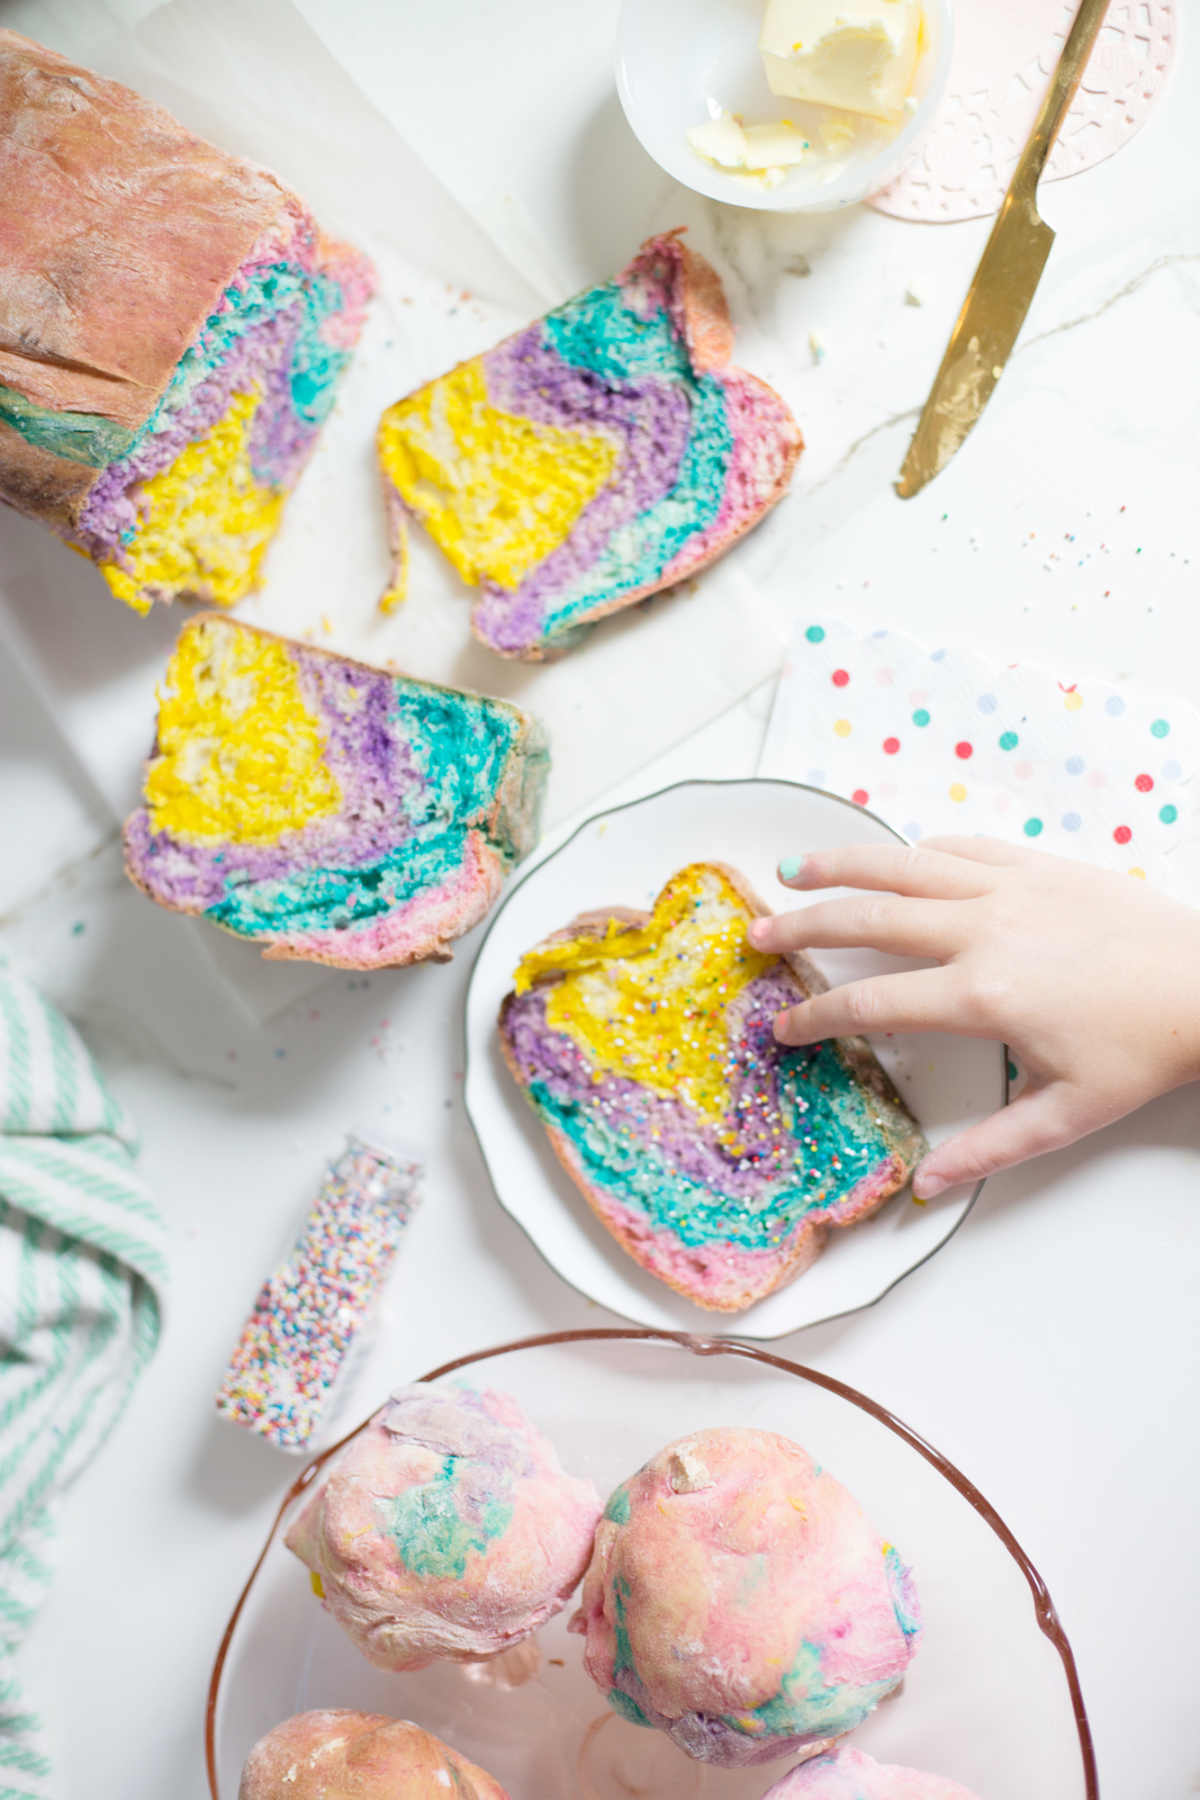 Awhile back, I posted on instagram how much we love these vintage cafeteria trays for snacks and meals, and many of you asked where we got the rainbow bread from. It was a special thing at Publix for Easter, but I really wanted to figure out how to make it ourselves. Finally, this week, we got around to it, and after three tries and two different recipes, we figured it out!
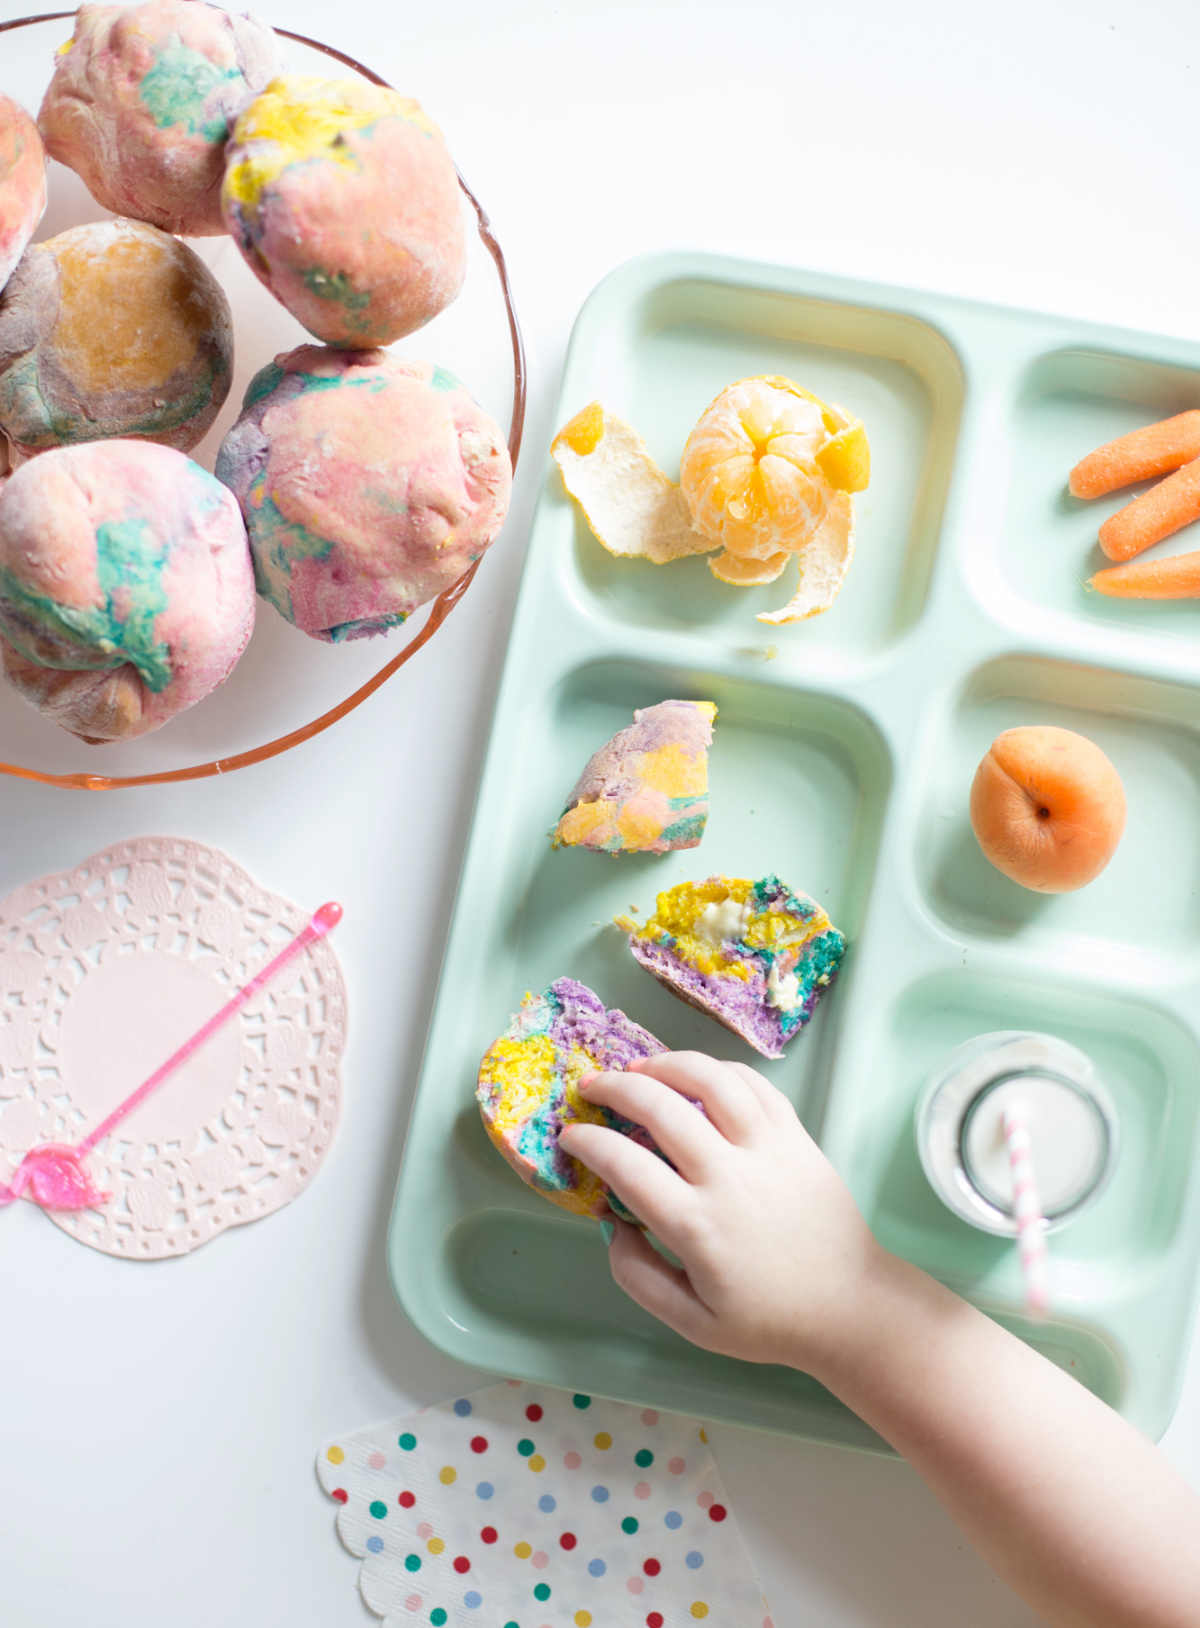 We made rolls, to, and they just look magical! It's not something you probably want to make all the time, but for a special birthday breakfast or sandwiches or just because, it's really fun.
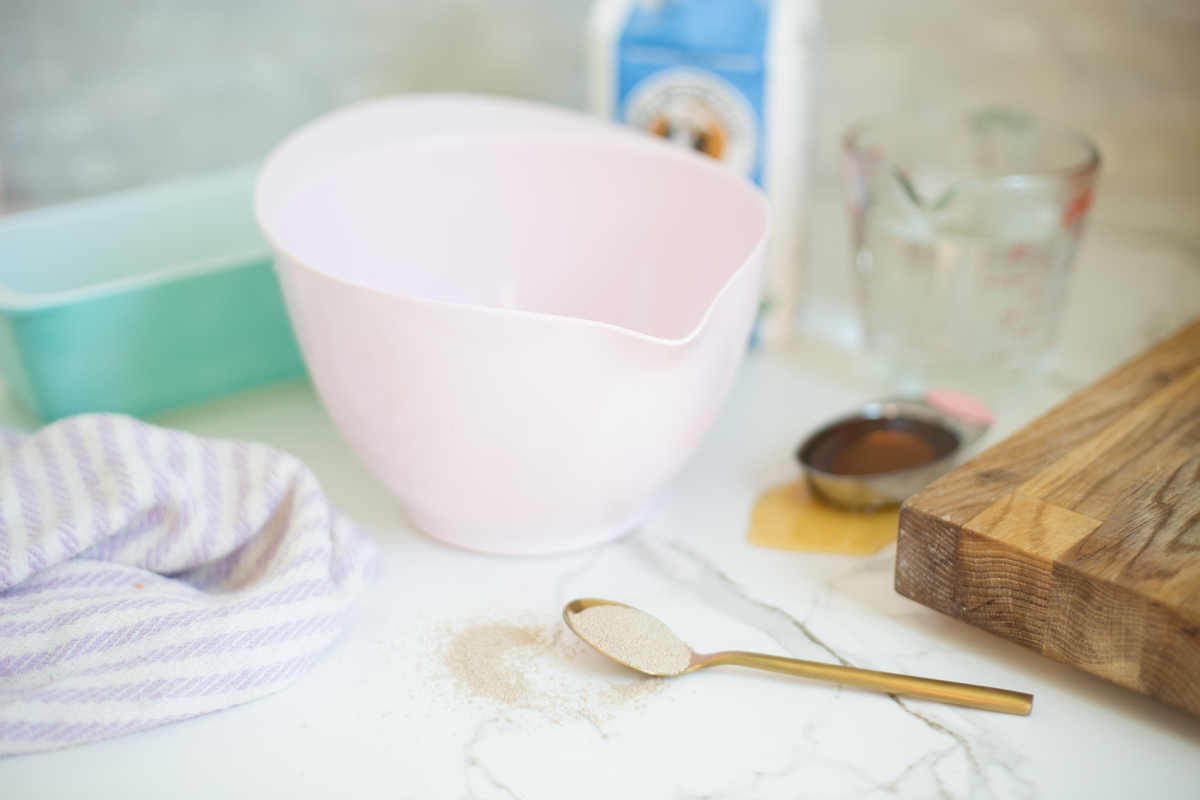
Here is what you need:
2 cups warm water | 2 tablespoons active dry yeast | 1/4 cup oil (I used light EVOO) | 1/4 cup honey or sugar | 2 teaspoons salt | 1 egg | 6 cups of all purpose flour | gel food coloring
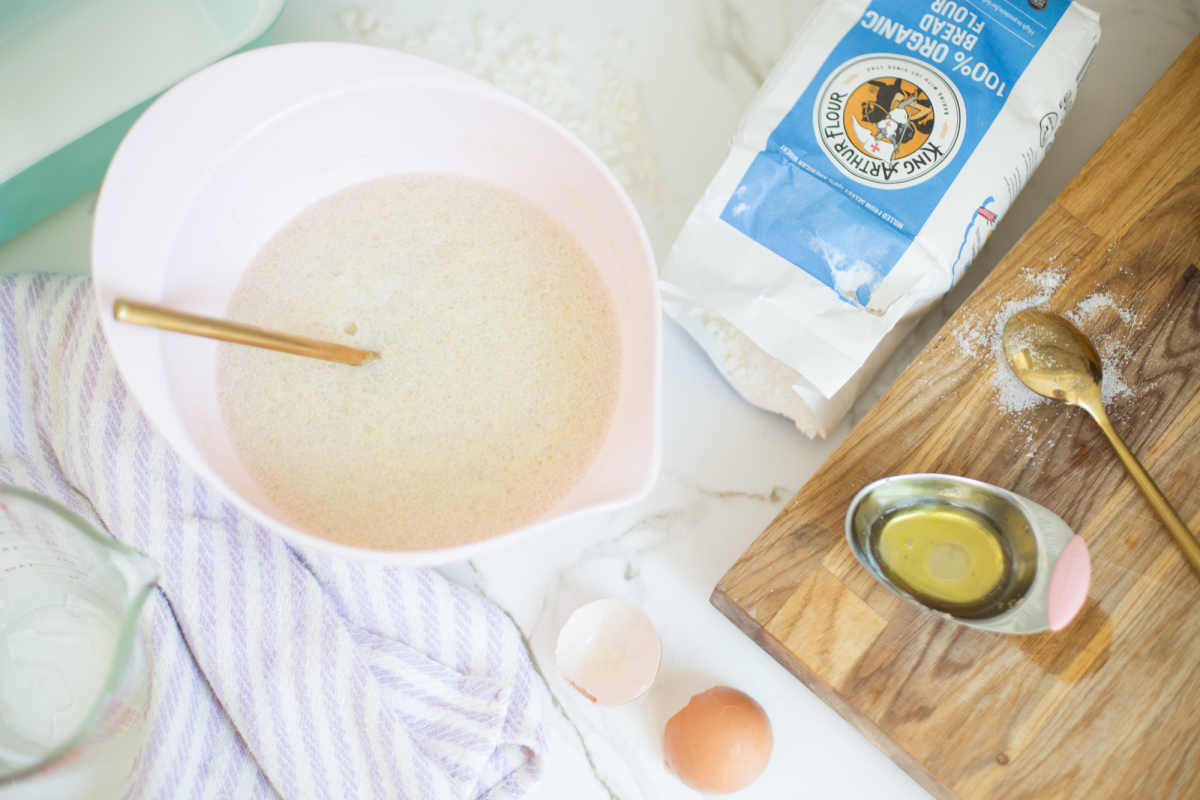
First, stir together the warm water, yeast, oil, and honey. Let it sit for 5 minutes, and then add in the egg and salt and stir.
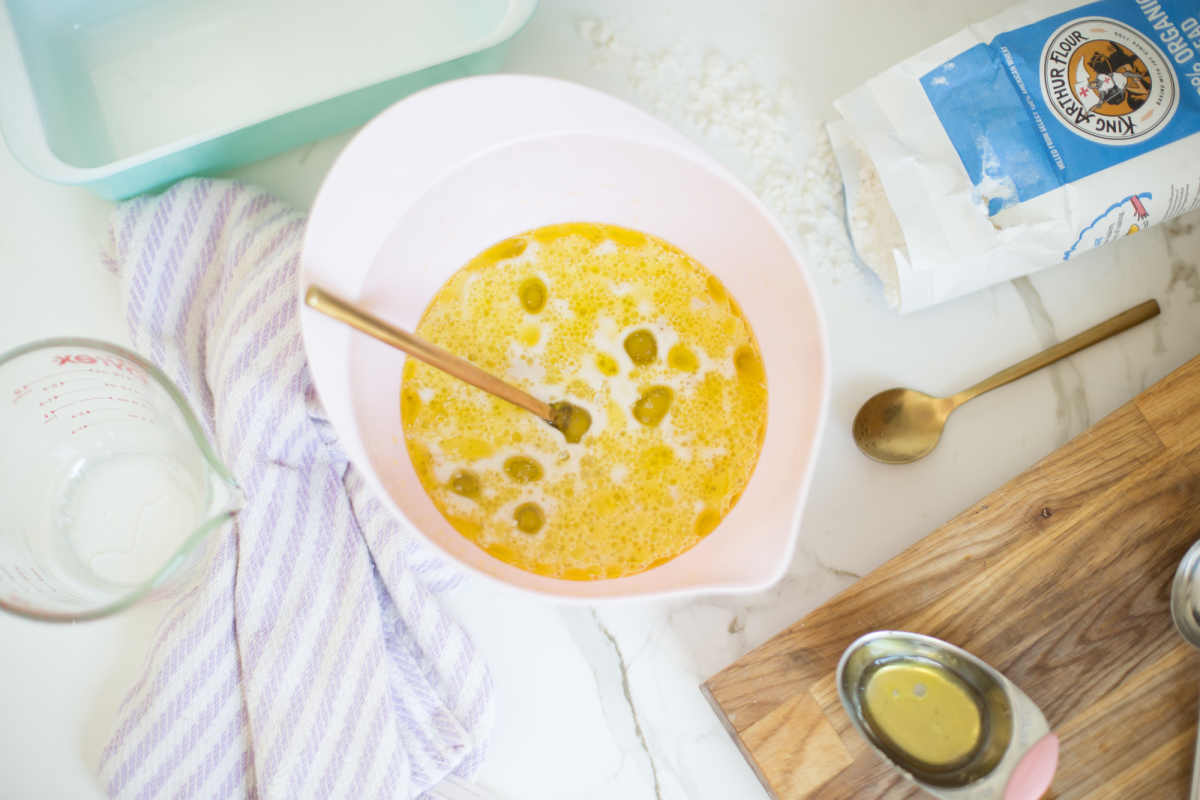 Making bread is so much fun to do with the kids - it's so neat to watch the mixture bubble and change, and then see the bread rise!
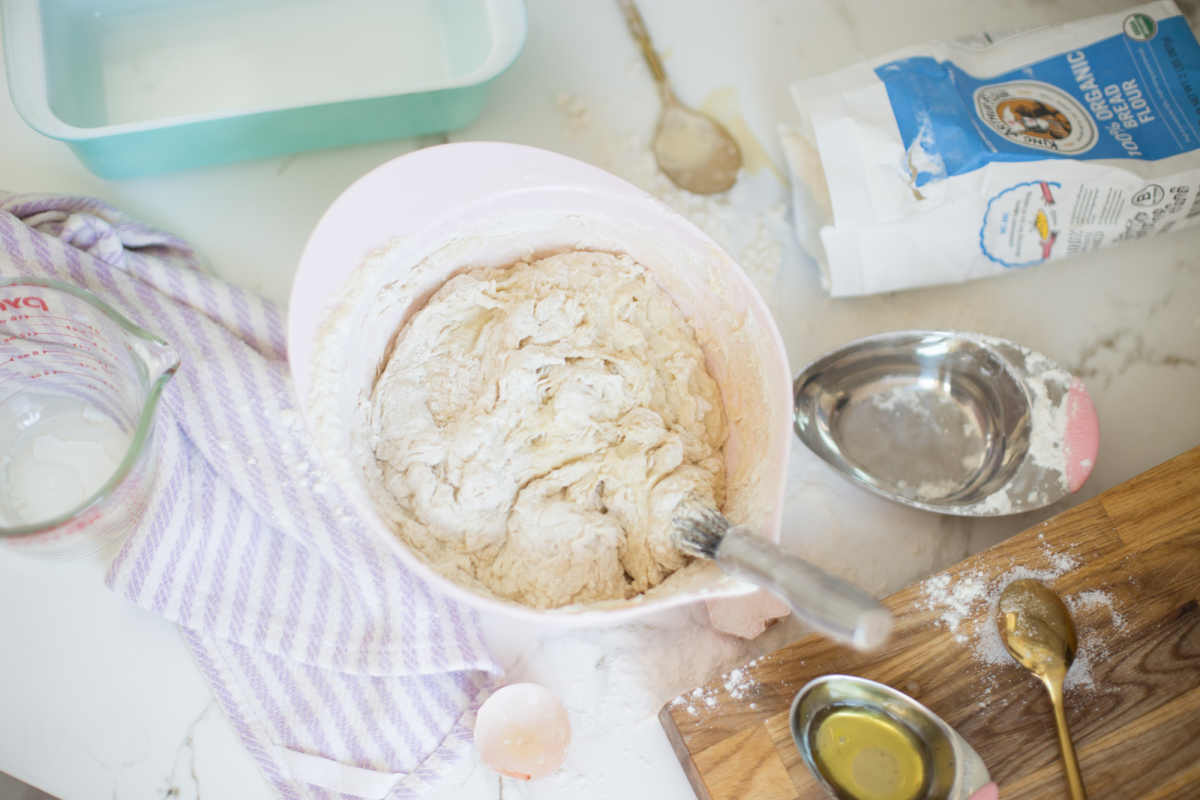
Add the flour in one cup at a time, and stir well after each cup. By the time you have added it all, you will have sort of a dough ball that has pulled away from the edges of the bowl.
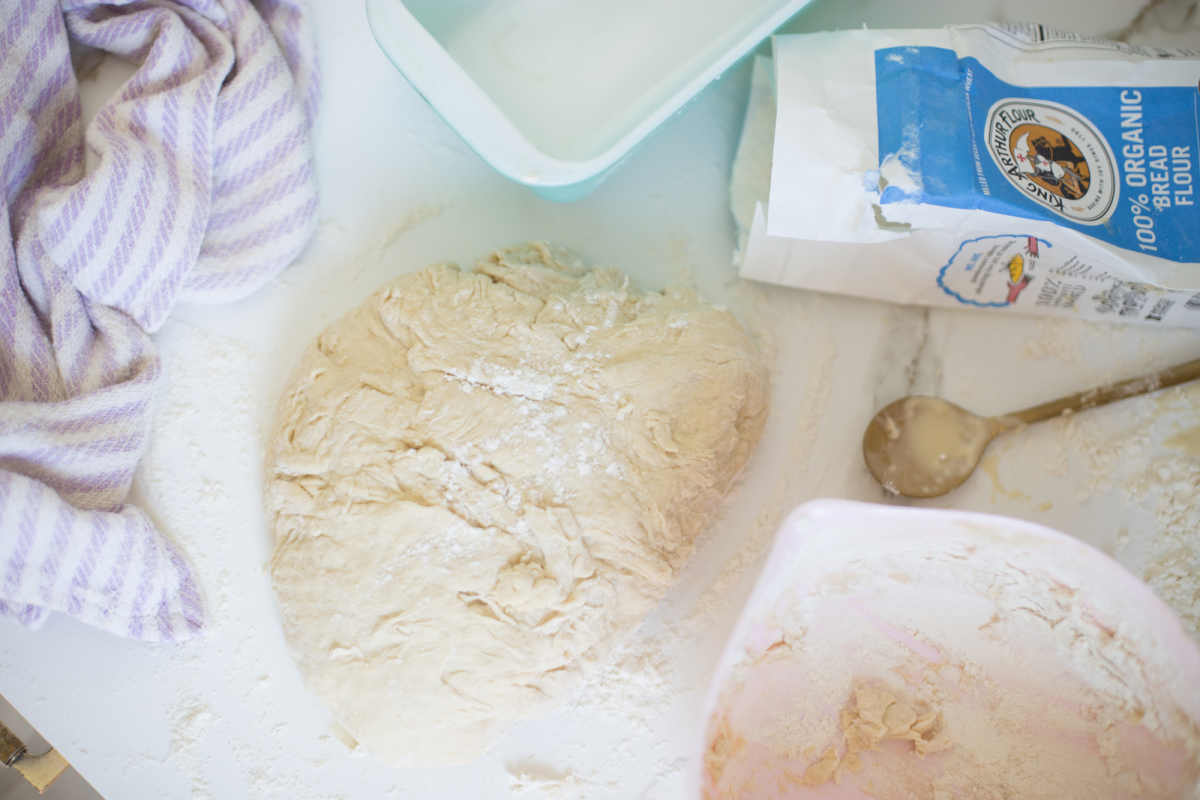
Place the dough ball on a floured surface and knead for about 3 minutes. This is so therapeutic and fun! It will be a little sticky, and will become smooth and elastic-y after you have kneaded it. Next, separate your dough into four balls (one for each color you want).
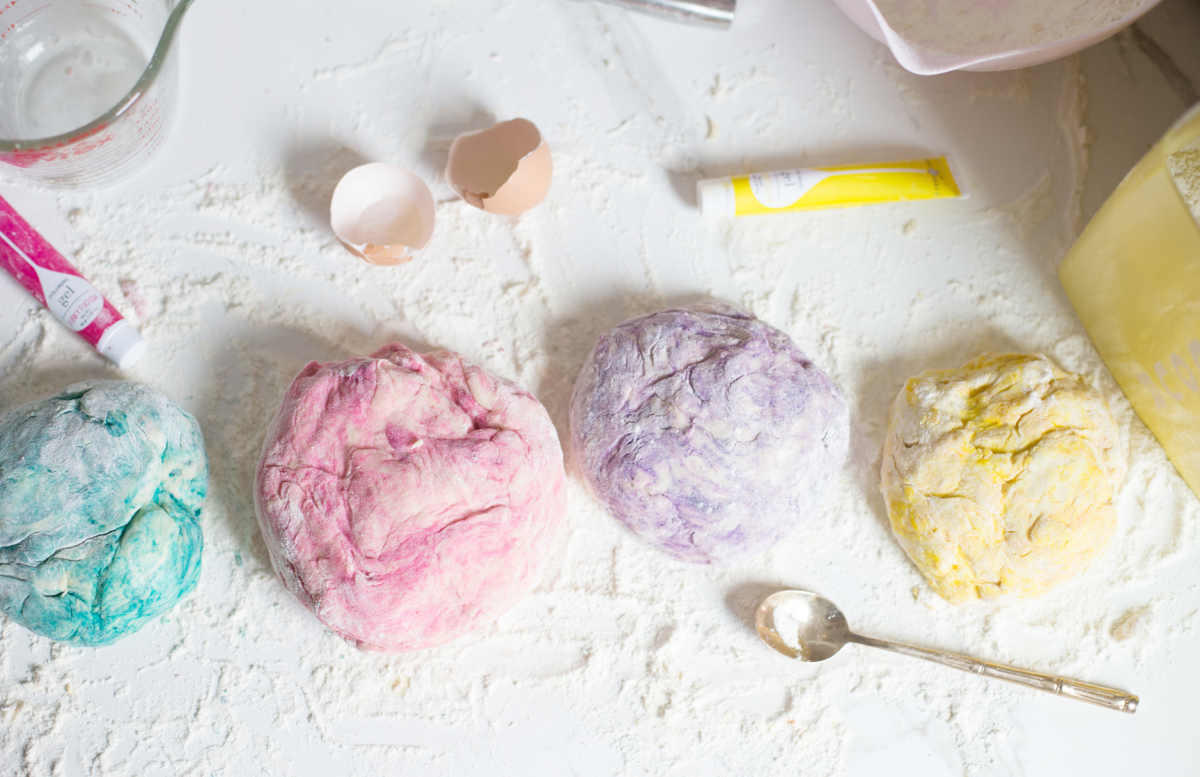
This part takes a little time. I tried this three times, and this is what seems to work best. Make a little well in the middle of each dough ball with your finger, and pour in a bit of food coloring. I was pretty generous with it. Cover up the well with the dough, and then knead it with your hands to spread the coloring throughout the dough as best you can. It takes a good bit of effort, and be prepared for your hands to get some color on them (you may want to use gloves). I found my hands got less dyed when I put the color in the middle of the dough and worked it throughout than if I just added it to the top, if that makes sense.
Now, let your dough balls rise until they double. I'm not sure, but I think the more flour you add, the less it will rise, so keep it a bit more on the sticky side. It can get messy, but that is fun!
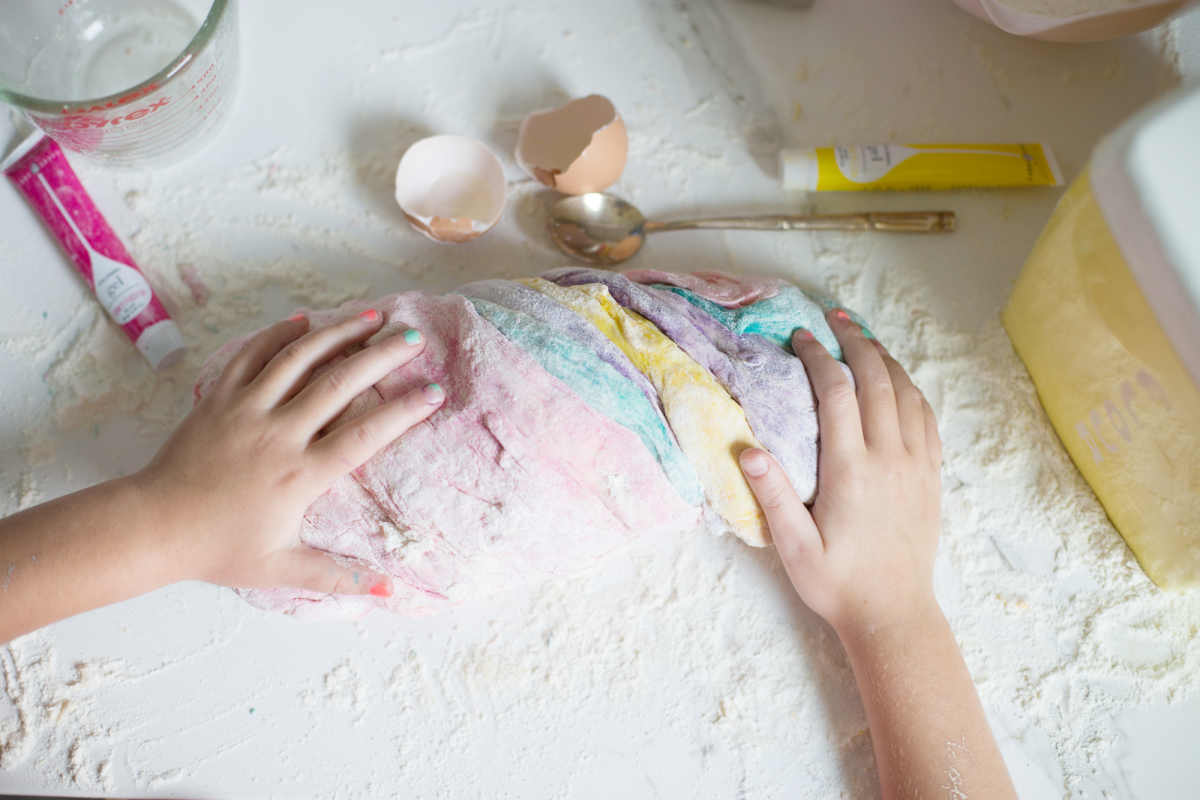
Once the dough has risen (I just waited about 10 minutes), flatten out the dough balls and lay them on top of each other, and twist them together, similar to the photo above. I didn't twist them too much, because I wanted to have large chunks of color showing when the bread is sliced.
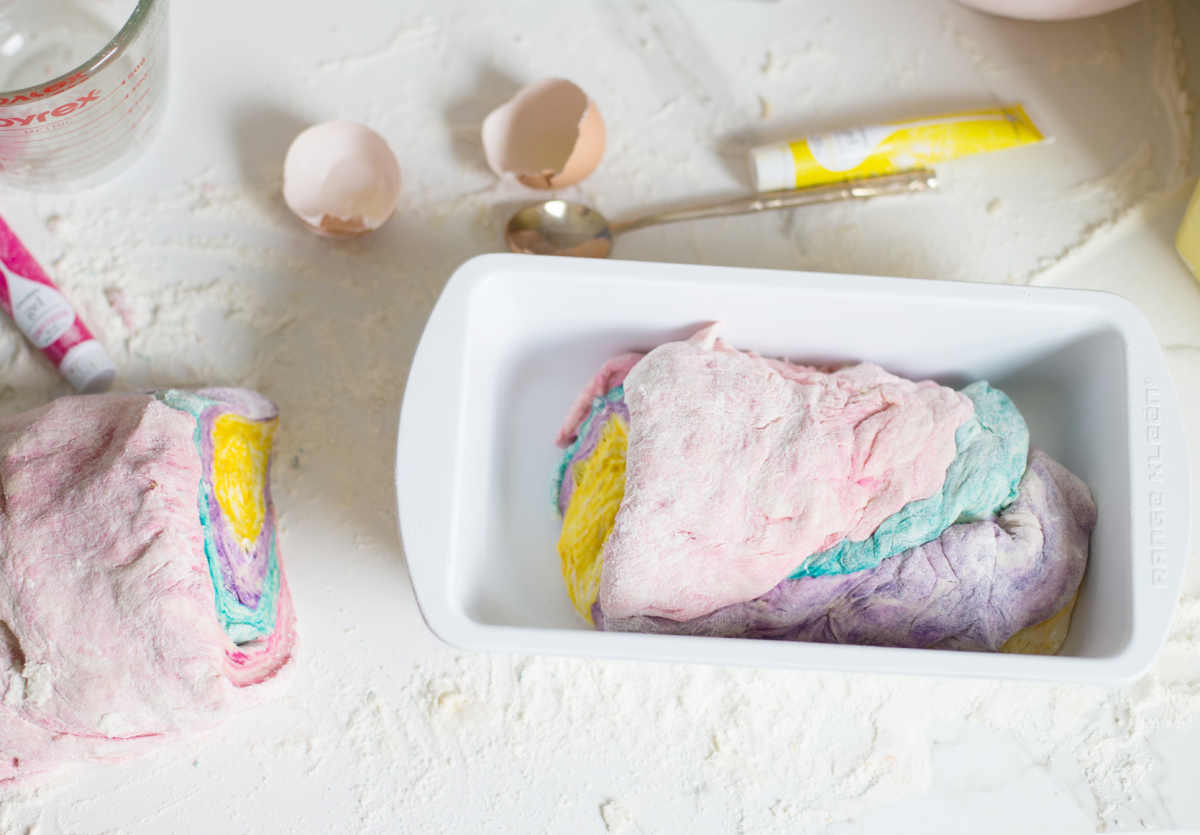
Cut your rainbow loaf in half, and place one into a bread pan to rise (or both into bread pans, if you want two loaves). With the other loaf, twist of smaller pieces and roll them into balls for rolls. I made 8 rolls, but they are HUGE, so I think aiming for 12 is better. They will rise a lot!
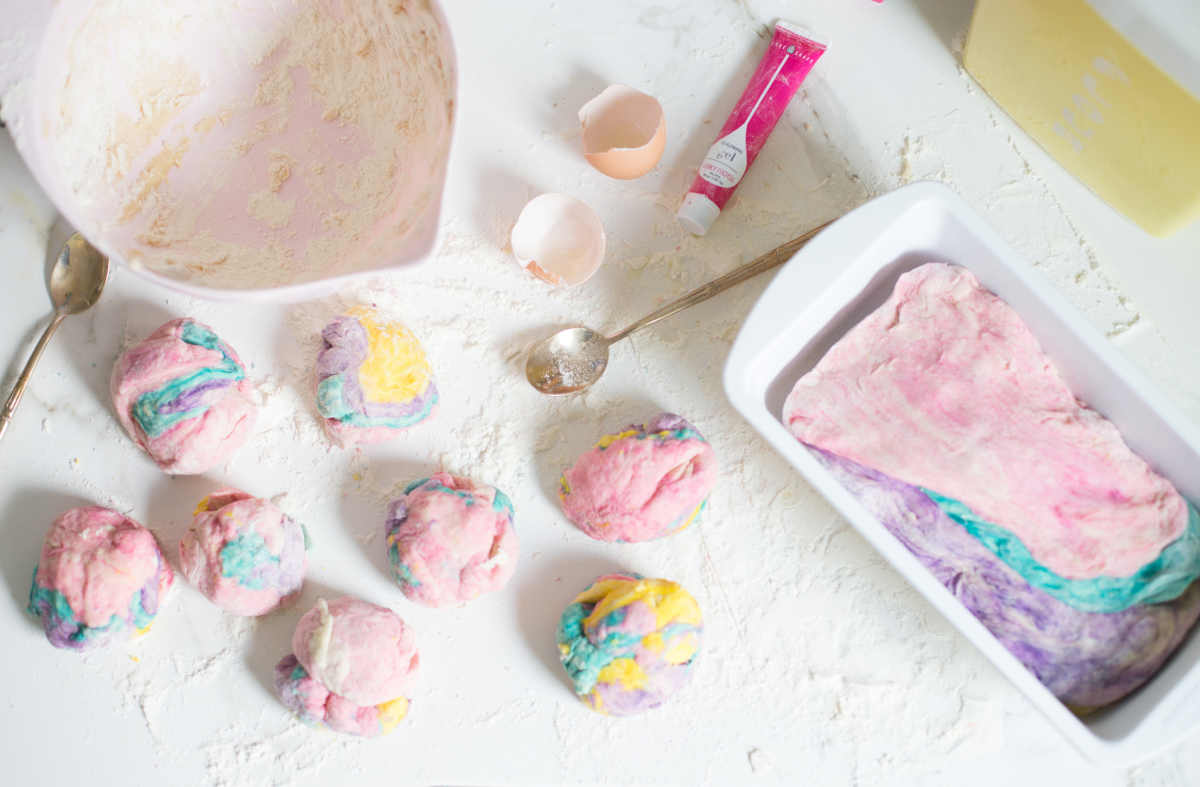
Aren't they so pretty?!
I placed the rolls on parchment paper on top of a baking sheet. Now, preheat the oven to 375, and let the dough rise again while the oven heats up. (It will rise more in the oven, so don't fret if the bread doesn't rise to the top of the bread pan!)
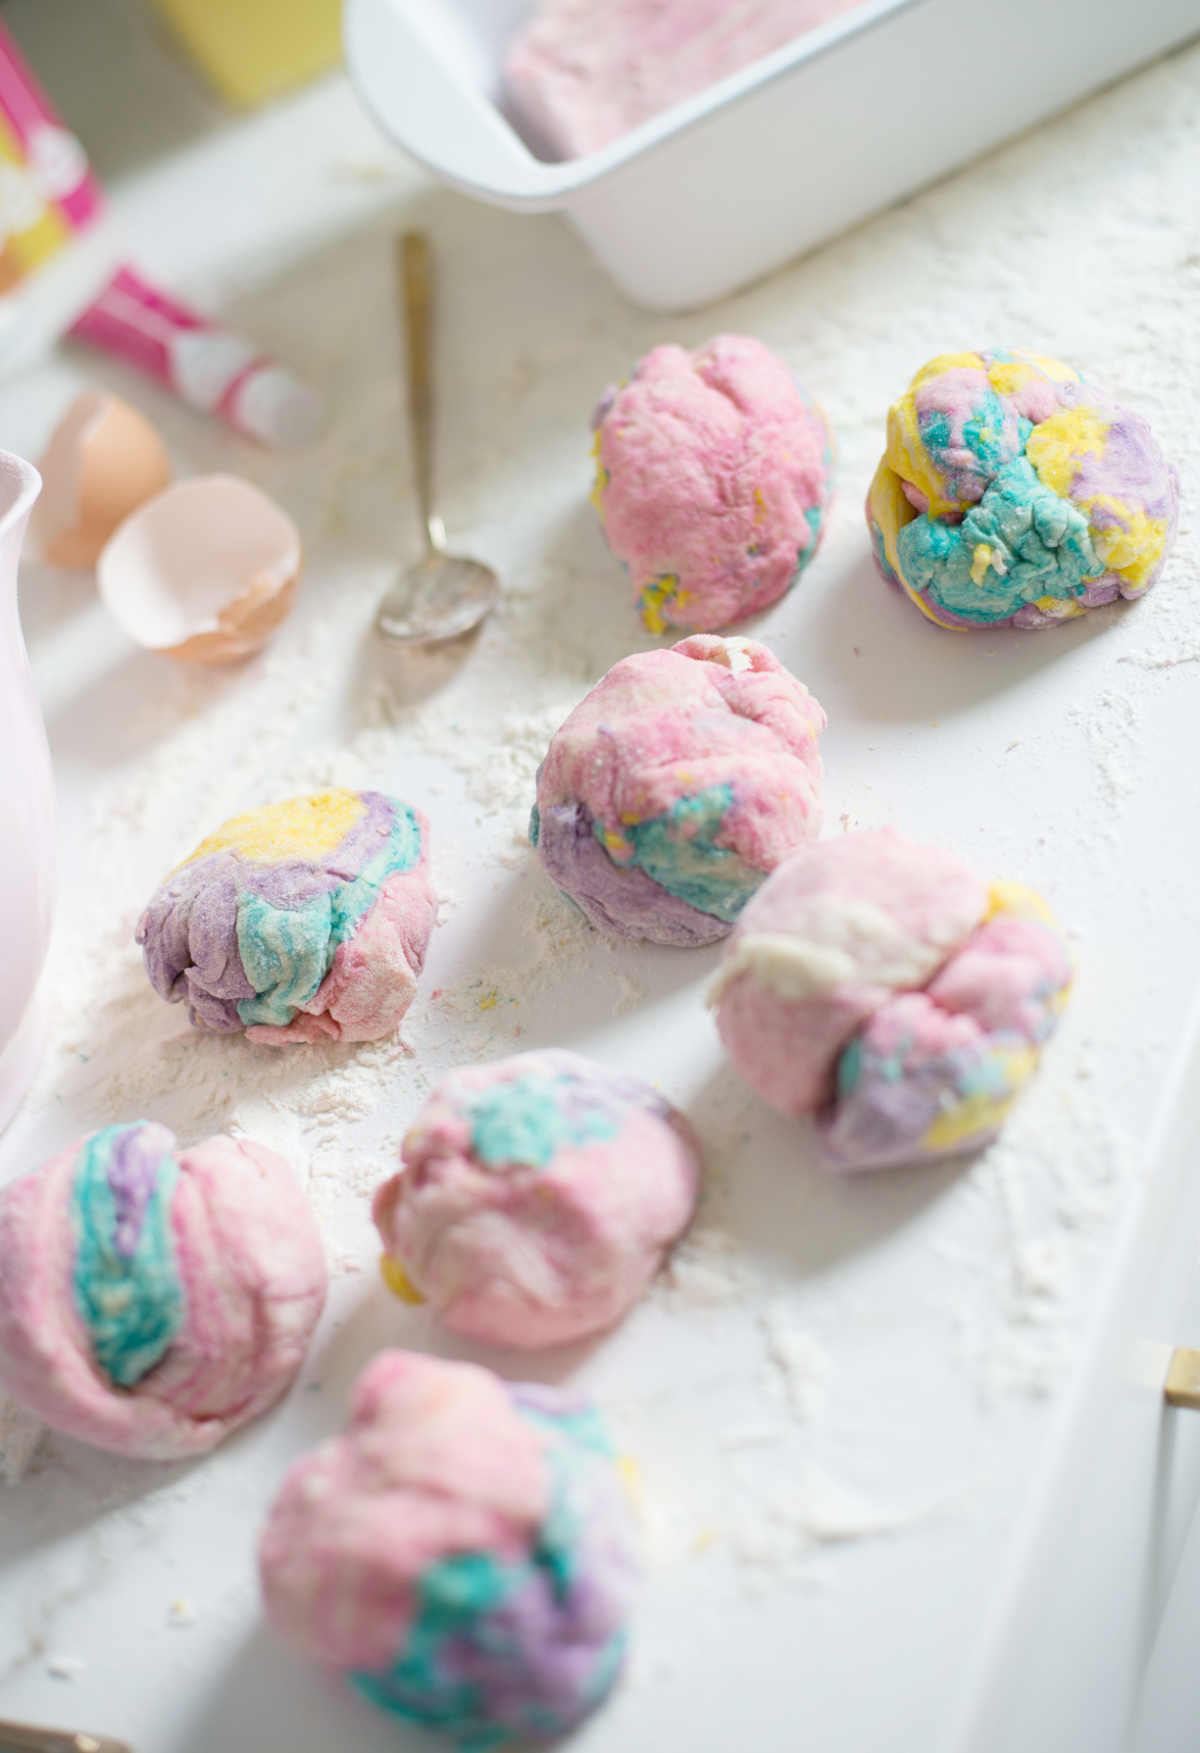
Bake the rolls for about 12 to 15 minutes, and the bread for about 25 minutes, until you see a touch of golden brown on the tops.
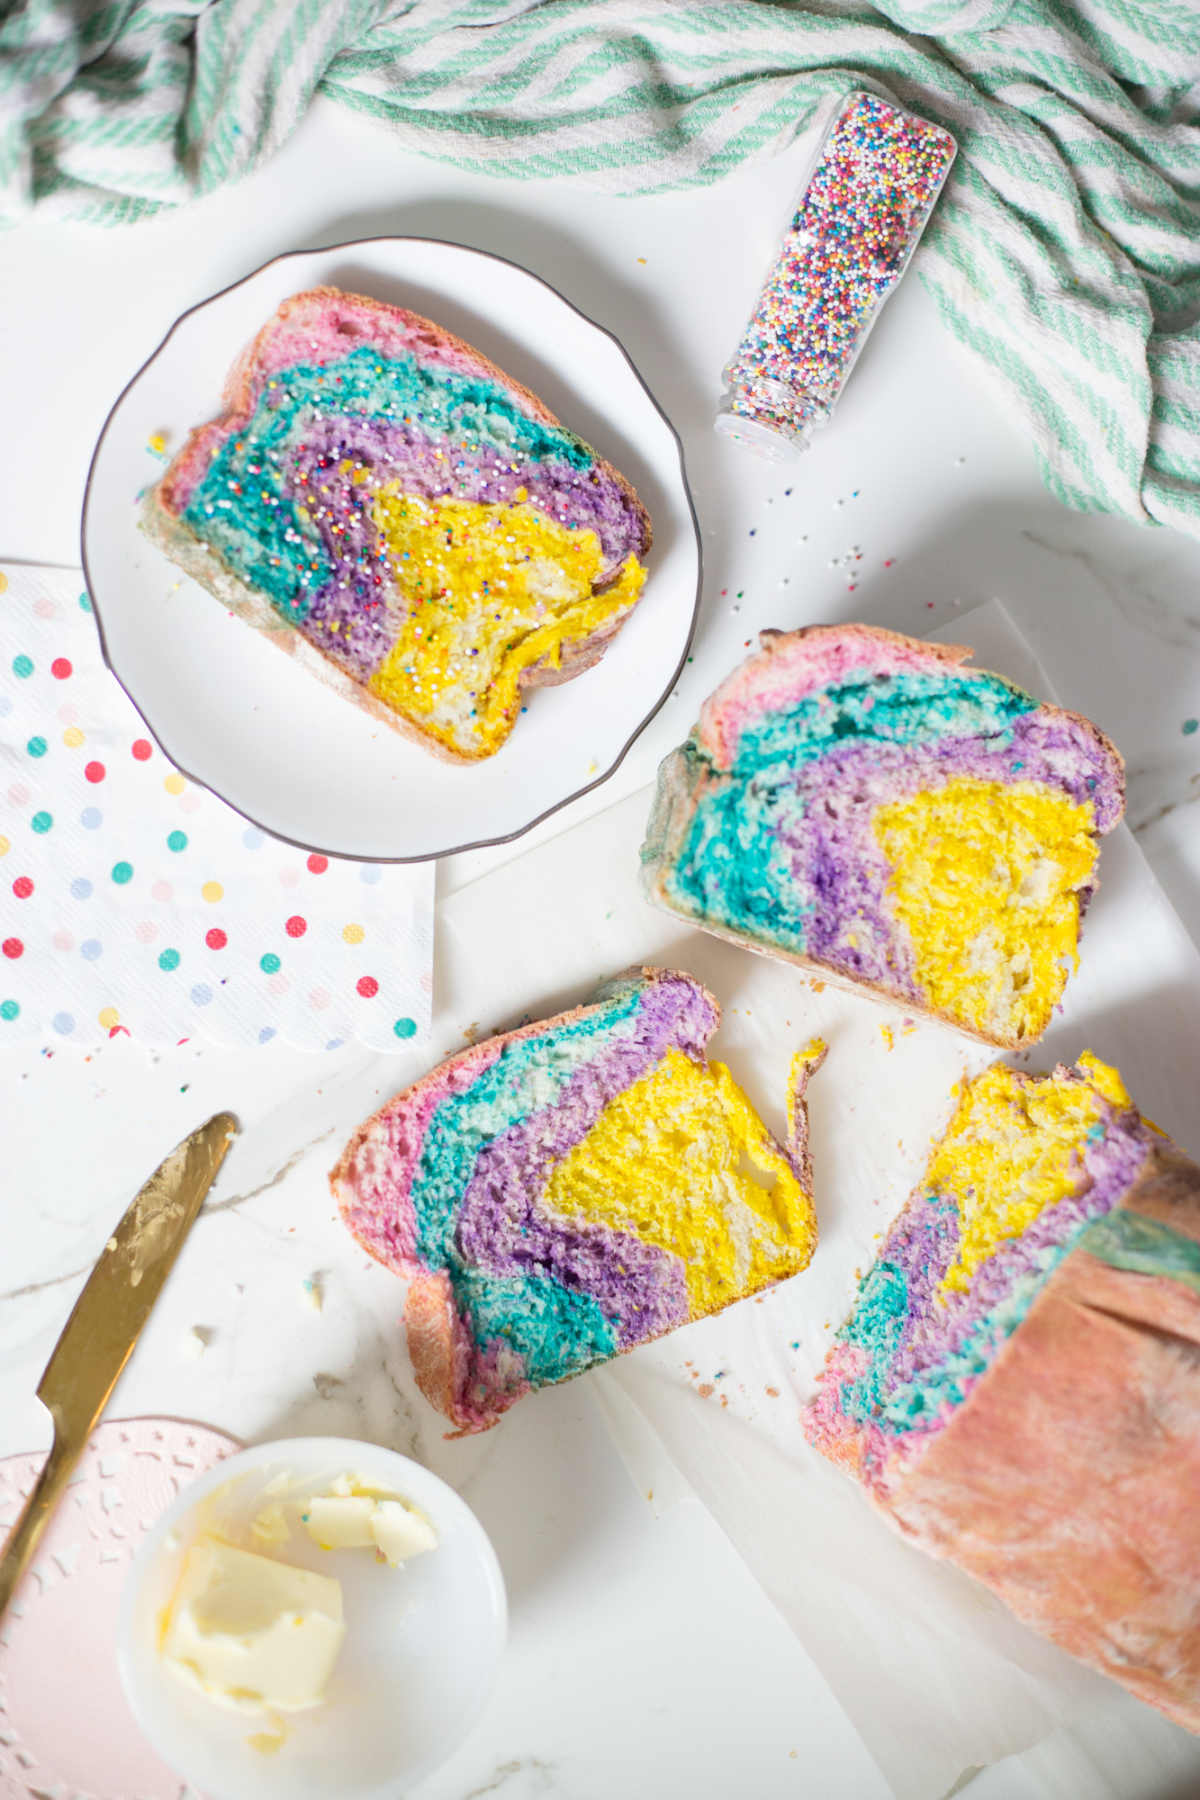
My girls are totally smitten with this bread, and it's an extra special treat right out of the oven and warm. A good tip is to set out some butter before you start making the bread, so it's all creamy and spreadable. Then you can add some sprinkles on top for the most magical fairy bread ever.
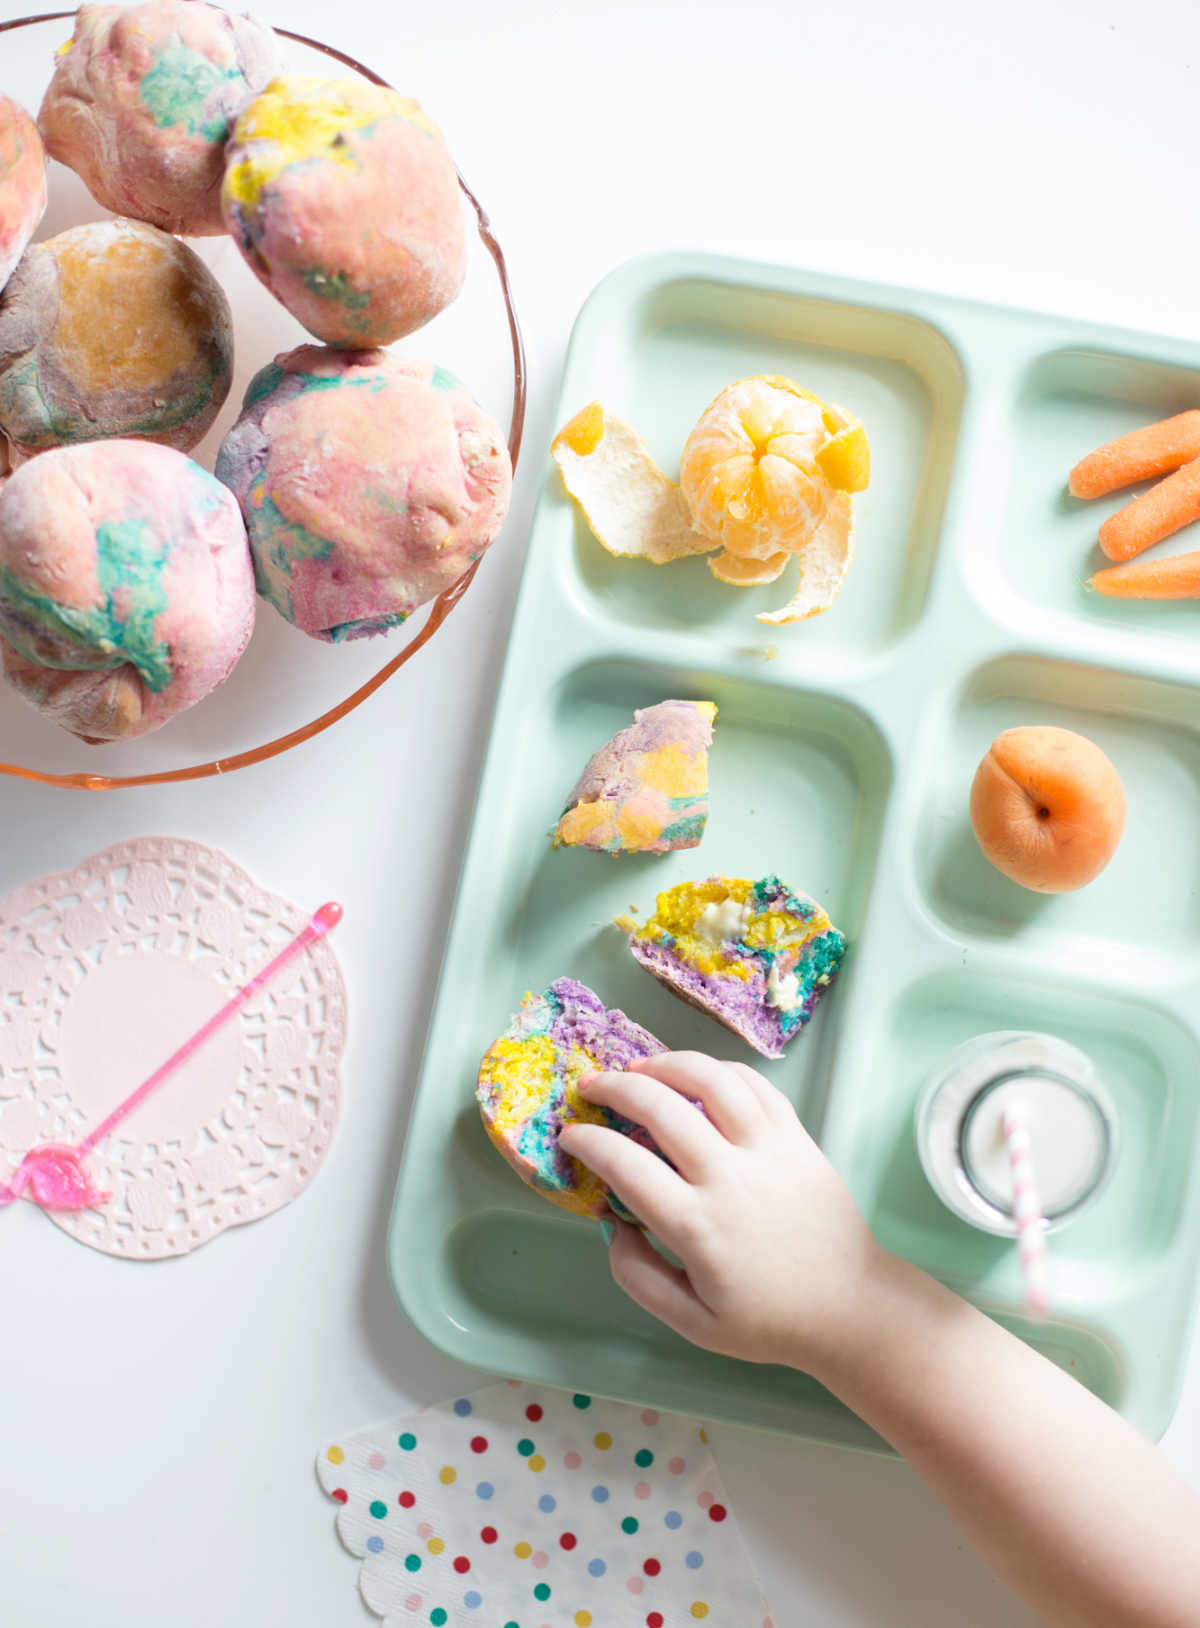
So much fun!! You should give it a try - it's really so much fun with the kids, and I loved it, too. I think I'll be making bread on the regular now. Would also be fun to try some red and blue for the fourth!
Happy Friday, friends!


Discussion